Solar Panel Removal & Reinstallation in Nashville, TN
Safe solar panel removal and reinstallation for roof repairs or storm damage. We coordinate with your roofer and insurance for a leak-free reinstall.
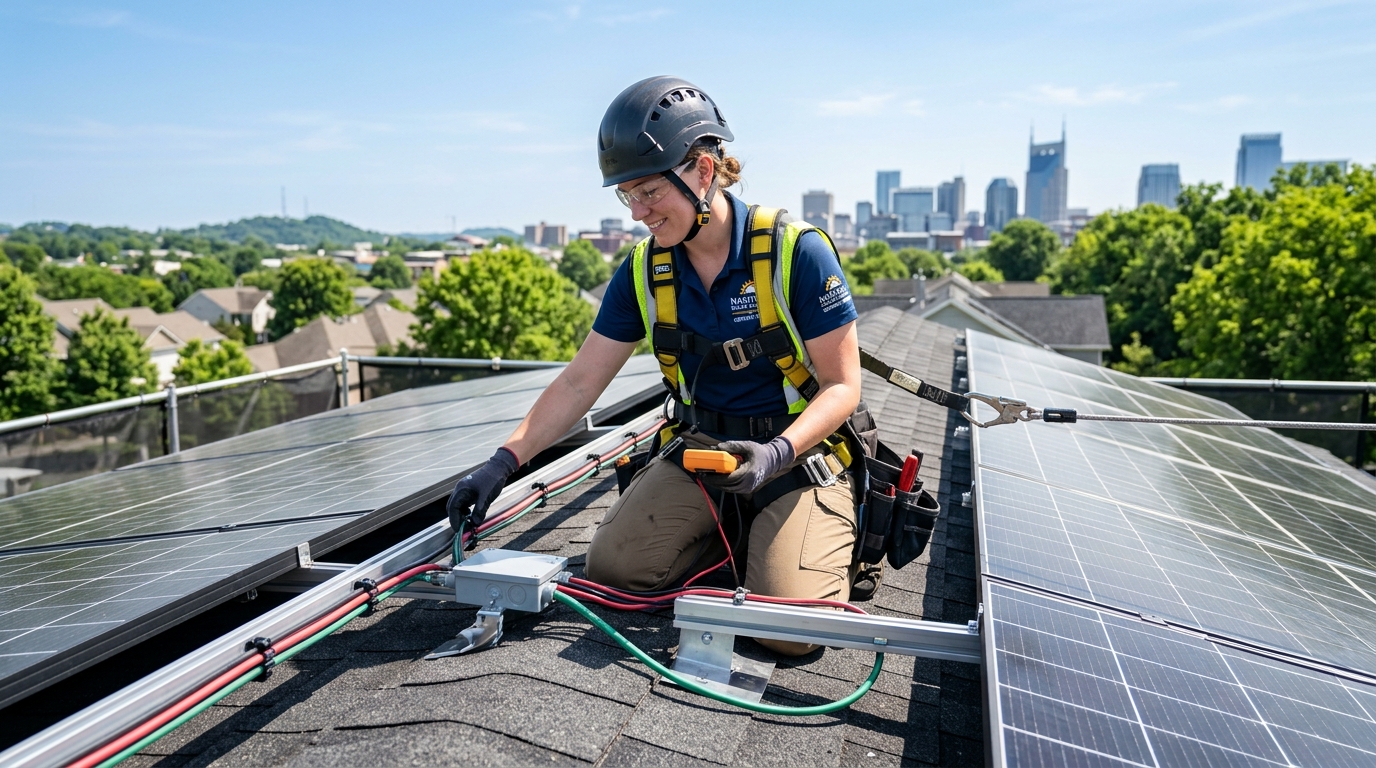
Solar Panel Removal & Reinstallation (Detach & Reset) in Nashville, TN
When heavy spring hail damages your roof in Davidson, Williamson, or Rutherford County—or when your 20-year shingles simply need replacing—getting a new roof is unavoidable. But if you already have solar panels on your roof, you face an important question: who safely takes the panels down, and who puts them back on correctly?
Roofing companies are great at replacing shingles and gutters, but they are not licensed electricians. Electrical safety codes and equipment warranties require rooftop solar systems to be disconnected, inspected, and reinstalled by licensed professionals.
Nashville Solar Guide coordinates turnkey solar removal and reinstallation across Middle Tennessee. We work directly with your roofing company and your insurance adjuster to ensure your panels are handled carefully, your new roof warranty stays fully protected against leaks, and your insurance claim pays out fairly.
Working with Insurance Claims After Storm Damage
Middle Tennessee experiences frequent spring storms and hail. If you are replacing your roof through a homeowners insurance claim:
- Clear, Itemized Insurance Estimates: Insurance adjusters use standard pricing software to review claims. We provide your adjuster with the exact line items needed to approve solar panel removal and reinstallation without surprise out-of-pocket costs.
- Photo Proof Before Work Starts: Before removing a single bolt, technicians test the electrical power output and take detailed photos of your panels. This gives you clear proof for your insurance company that the system was in good working order.
- Direct Help with Adjusters: If your insurance adjuster’s first estimate left out the cost of taking down your solar panels, our contractor partners can submit the missing paperwork directly to your insurance company.
Why Reinstalling Solar Requires 100% Brand-New Waterproof Mounts
Some cut-rate contractors try to cut corners by prying off the old metal mounting brackets and nailing them back down into your new shingles with a dab of caulk. This almost always leads to roof leaks.
Our partner contractors follow strict roofing and solar standards:
- Brand-New Waterproof Brackets: Every reinstallation uses 100% brand-new, code-approved roof attachments from trusted brands like IronRidge and QuickMount.
- Heavy-Duty Metal Flashing: Large, sturdy aluminum metal plates slide up underneath your upper shingles, creating an overlapping shield that naturally guides rainwater down the roof and away from bolt holes.
- Bolted Deep into Roof Rafters: Strong stainless steel bolts are screwed directly into the wooden rafters of your roof, sealed with flexible waterproof sealant that won’t crack during hot Tennessee summers or freezing winters.
- 10-Year Roof Penetration Guarantee: Every reinstallation comes with a comprehensive 10-year guarantee covering the roof brackets against leaks.
Step-by-Step Removal & Reinstallation Process
Step 1: Pre-Removal Testing & Safe Shutoff
- Test electrical output on every panel to ensure the system is working properly before anything is touched.
- Safely turn off the main solar switch and isolate any home backup batteries.
- Create a detailed map of your roof layout and note where each panel belongs so everything goes back in its exact place.
Step 2: Careful Unbolting & Safe Storage
- Carefully unbolt each panel and mounting rail.
- Unplug all electrical connectors using proper tools rather than yanking on wires.
- Carefully lower the panels and stack them safely on padded pallets inside your garage, shed, or our enclosed work trailer to protect them from wind, rain, and construction dust.
Step 3: Coordinating with Your Roofer
- Communicate directly with your roofing project manager so panels come down right before the old shingles are torn off.
- Verify the roof’s wooden decking is strong and ready before laying out where the solar mounts will go.
Step 4: Reinstallation & System Restart
- Install new waterproof metal flashing mounts, level the aluminum rails, and securely bolt down every panel to the manufacturer’s exact specifications.
- Reconnect all electrical wiring, replace any worn clips, and turn the main solar power switch back on.
- Verify on your phone app and electric meter that your home is once again producing clean solar electricity.
How Solar Mounts Keep Your Roof 100% Leak-Free
Why certified Middle TN installations protect your roof and preserve manufacturer shingle warranties
Metal flashing slides completely under the shingles above, channeling rainwater harmlessly away without relying on messy surface caulking.
Heavy structural bolts anchor directly into your home's roof rafters, engineered to easily hold tight against severe Middle Tennessee storms.
Installed to strict manufacturer specifications (GAF, Owens Corning, CertainTeed), keeping your original roof warranty completely safe.
What’s Included in Our Solar Detach & Reset Process
Pre-Removal Testing & Roof Layout Map
Test electrical output, record panel serial numbers, and safely shut off power disconnects.
Careful Removal & Safe Storage
Unbolt panels and mounting rails, unplug connectors, and store panels safely in your garage or trailer.
Roofer Coordination & New Waterproof Flashing
Coordinate timing with your roofer and install brand-new waterproof metal flashing brackets on the new shingles.
Reassembly, Testing & Restart
Reattach rails and panels, tighten all bolts to factory specs, reconnect wires, and confirm full power production.
Transparent Pricing & Cost Expectations
We insist on itemized transparency. Every proposal through our matching network includes explicit cash price equivalents, manufacturer component tiers, and zero hidden finance markups.
Read our full 2026 Nashville Solar Cost GuideGet Quotes for Solar Detach & Reset
Connect with certified Middle TN installers
Frequently Asked Questions: Solar Detach & Reset
Expert guidance on solar detach & reset under Nashville and Middle TN electric company rules.
Related Solar Services in Middle Tennessee
Residential Solar Panel Installation
Custom rooftop solar systems designed for your roof, local tree shade, and easy approval with Nashville electric utilities.
Home Solar & Battery Backup
Keep your lights, refrigerator, and medical equipment running during storm outages with trusted home batteries like Tesla and Enphase.
Solar Repair for Systems Installed by Other Companies
Did your original solar installer go out of business? We connect you with local technicians who can fix broken systems and replace parts under warranty.